Policy Manager: Difference between revisions
No edit summary |
(No difference)
|
Revision as of 17:13, 12 June 2017
| File:PolicyManager 128x128.png Policy Manager |
|
About Policy Manager
Policy Manager is one of Untangle's most powerful features. It works by allowing you to create virtual Racks, much like a traditional server rack. Like server racks, Untangle's virtual racks can contain multiple devices (applications) that perform different functions on network traffic, such as filtering web content or filtering spam. Policy Manager allows you to create policy rules that send traffic to different racks, which can contain multiple, independently configured applications. These features enable you to:
- Set up multiple racks for different user groups, such as Teachers, Administrative Staff and Students.
- Choose what applications are running in each rack (students may not need spam filtering, for example).
- Configure applications in separate racks independently (e.g. Student web traffic being more restricted than Teacher web traffic).
- Configure multiple applications in separate racks simultaneously using the Parent Rack system.
- This allows you to "copy" the configuration of some applications from another rack, but not others - this makes doing things such as having different Web Filter settings across racks, but keeping the configuration of all other applications identical across racks. There is not usually a need to modify settings for applications like Virus Blocker or Spam Blocker between different user groups, however if it is necessary it only takes a few clicks.
Please note that we will be using the example of a school a lot in this section as it is quite apt in showing how Policy Manager can help you with different user classes. This can be applied to any organization; just look for groups you can fit users into - Administrative Assistants, Marketing, or HR, you're free to choose. It can also apply to different sets of servers (ie a DMZ rack for handling public servers, and an Internal rack for handling internal user machines and a Wireless rack for handling wireless users) and it can also apply to different times of day (ie a Lunchtime and After Hours rack and a Work Hours rack). For simplicity the examples below will mostly use the school groups as an example.
Getting Started with Policy Manager
Virtual Racks (hereafter referred to simply as racks) provide a way to handle different settings for different sessions. Using our example, an Untangle protecting a school might have three different racks - Students, Teachers, and Administrators. These racks provide completely separate configurations for traffic processing, for example you could allow teachers to access Facebook but not students.
Untangle will always have at least one rack, the Default Rack. You can rename but you cannot remove this rack. As mentioned before, you create Rules to send traffic to racks where it is processed by the applications. Racks and policies are created from within Policy Manager, however you will use Untangle's web GUI itself to switch to and configure each rack. At the top of the web GUI, you will see Default Rack with an arrow next to it - clicking this arrow allows you to change the rack you're looking at, as well as access the Session Viewer and Host Viewer and open the Policy Manager Settings directly.
Parent Racks
When you first create a new rack it will not contain any applications. You can add in any applications you want and configure them to your liking, or you can use the Parent Rack system. When creating a new rack using Policy Manager, you have the option to select a Parent Rack. If you use this option your new rack will be pre-populated with all applications and settings from the Parent Rack you selected, however it will look a bit different.
When you view the new child rack, the application faceplates will be greyed out and you will be unable to click Settings. This is because the settings for these applications are being inherited from the parent rack, which is useful because it saves you from having to reconfigure applications you want operating the same way in multiple racks, such as the virus scanners. To change the settings or view the Event Logs, you'll need to open the application on the parent rack and use the drop-down to select the rack to view traffic for.
If you want to modify the settings of an application in a child rack, you'll need to install the application you want to modify in the child rack - I know, it's already there, but you can't click Settings to modify the configuration. On the Apps tab on the left side of the web GUI, just click Install again. After a few seconds the app will re-appear and you will be able to click settings. Once this has happened, the new child application overrides the application inherited from the parent. The settings of the parent rack for this application have no effect for the application you have added to the child rack. If you're following along, your child rack will contain all applications that your parent rack does, however only one will have the Settings button enabled.
To recap using our school example, we would send students to the Default Rack, then create a new Teacher Rack which uses the Default Rack as its Parent Rack. If you go to the Teacher Rack, all the apps will be greyed out and you will not be able to modify any settings because they are copied from the Default Rack. By adding in a new copy of Web Filter, you can modify the settings so the teachers can access websites the students cannot, however settings for all other applications will still be copied from the Default Rack.
Settings
This section reviews the different settings and configuration options available for Policy Manager.
Status
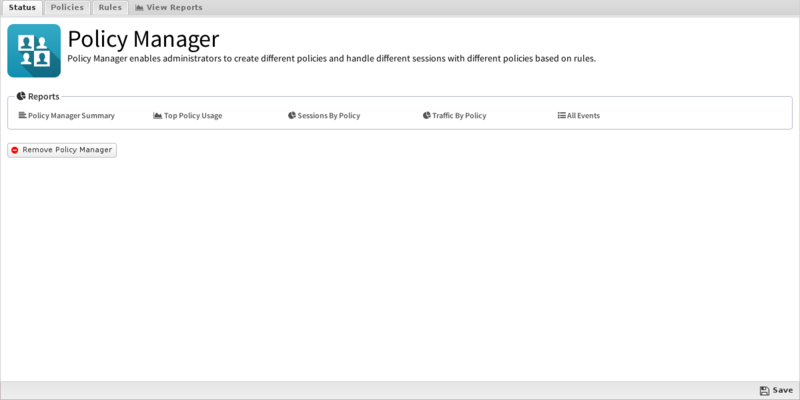
This displays the current status and some statistics.

Policies
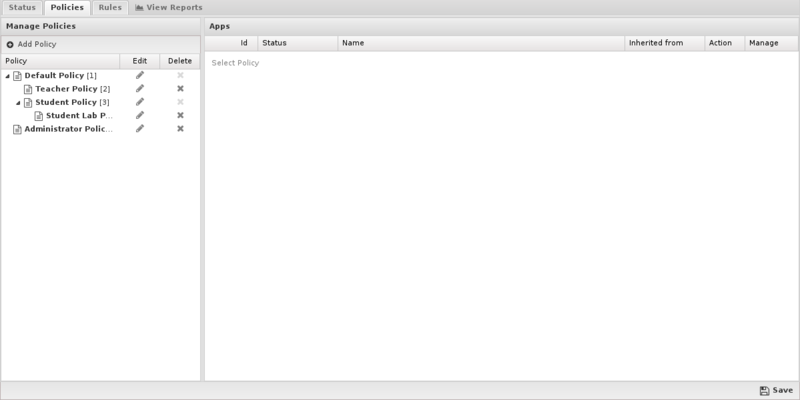
From this tab you can create new racks and policies, however please note you'll first need to create and save a rack before you can create a rule to apply traffic to that rack.
To create a new rack, simply click Add in the Racks section.
- Name: The name of this rack as displayed in the web GUI.
- Description: A description for this rack.
- Parent Rack: Which rack (if any) this one should use as a Parent Rack.

Rules
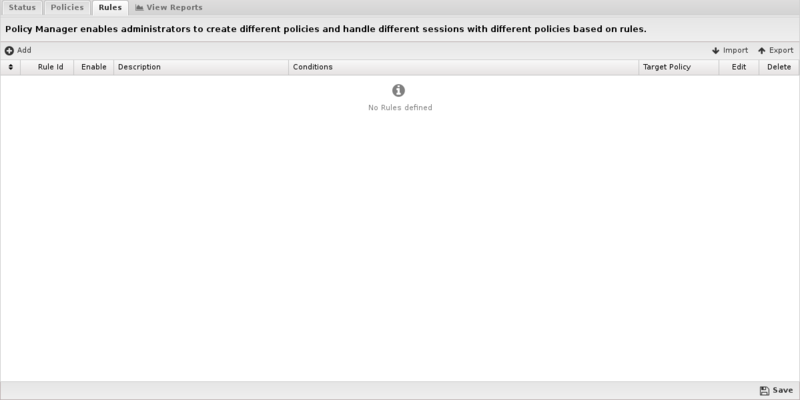
If you've been reading up until this point, you may have guessed that this new rack will do nothing until you send traffic to it. To accomplish this, you'll need to create a rule - click Add in the Rules tab.
When each new session is processed, the rules are evaluated in order. If all of a sessions attributes match all of the criteria of a rule it is considered a match. The rack for the first matching rule will be used to process the session. If no rules match, the Default Rack will be used to process the session.
These rules operate as described in the Rules documentation.
Like many areas of Untangle, the rules work from the top down. Let's go back to our school example and say we have three racks: Default (for students), Teacher and Administrative Staff. To get traffic to these racks, we would need to create two policies: one for the Teacher rack and one for the Administrative Staff rack - any traffic that did not match those two policies would be sent to the Default Rack. You can also explicitly add a rule sending traffic to the Default Rack, although it's not required.
If the policy rule for the Teacher rack is incorrect, it may end up matching all network traffic and sending it to the Teacher rack. Because it matches, the rule under it (for the Administrative Rack) will never be evaluated. On the flip side, if a rule is too narrow, it may not match the traffic you're trying to match at all, dumping it on the Default Rack. Because of this, we recommend starting out policy rules as very general (e.g. match a few IPs or an entire subnet) and then tightening them down from there - let's look at some common example policies:
So this is the 'Rules' tab of the Policy Manager settings. On this page you will be able to see all of the rules that will be evaluated when determining which rack to direct a specific user or IP address. Pay attention to the 'Target Rack' column. Any users defined in the corresponding rule will be directed to that rack. Click on the page icon under the 'edit' column to define the rule.
Once you've clicked the edit button, this is where you'll end up. This is where you will define which users will be assigned to which rack. You can specify a user using any one or combination of the identifiers in the drop down box. Any users that match the specified identifiers will be directed to the rack specified in the 'Target Rack' field.

Reports
The Reports tab provides a view of all reports and events for all traffic handled by Policy Manager.
Reports
This applications reports can be accessed via the Reports tab at the top or the Reports tab within the settings. All pre-defined reports will be listed along with any custom reports that have been created.
Reports can be searched and further defined using the time selectors and the Conditions window at the bottom of the page. The data used in the report can be obtained on the Current Data window on the right.
Pre-defined report queries: {{#section:All_Reports|'Policy Manager'}}
The tables queried to render these reports:
Related Topics
Policy Manager FAQs
When should I create a new policy?
You should create a new policy when you want to apply different rules to different users. For more information, see Deciding When To Use Multiple Virtual Policies.
Can I use my existing Active Directory groups to create policies for different groups of users?
Yes, if you're using Directory Connector to authenticate against Active Directory you can create policies by username or group name. Simply set up the policy to your liking, click Users, and you will be able to select your users and groups from the list.
I'm using NG Firewall's OpenVPN application. Do I need to create policies for the VPN users? 💡
You do not have to create extra policies to use OpenVPN; by default its traffic will go through the Default Policy. You can use the Firewall app o allow or deny VPN users access to resources, or if you prefer you can create a new policy only for OpenVPN users. Furthermore, if you do not want OpenVPN traffic filtered at all, create a rule for all OpenVPN clients and select "No Policy" as the target policy.
I only want to scan inbound email traffic, not outbound. Do I need to create a new policy?
No - by default, outbound email traffic is not scanned. If you would like it to be, this option is available in Spam Blocker, however we highly recommend against it.